Monday, January 27, 2020

5 Steps to Making Prints of Your Art

Your's truly holding the "Happy Cows" original
I love helping other artists on their journey and while there is SO MUCH more that I don't know, I feel it is important to share some of the things I have learned along the way.  After all, it just might be what someone else is trying to figure out.

I've only been offering reproductions of my artwork for maybe 4 years now.  When I first started thinking about it, I felt a bit lost.  I didn't have a clue where to even start.  First, you have to decide if you are going to pay to have your prints made professionally or if  you plan on trying to tackle that job yourself.  Because I create so many pieces of art,  I felt that I would never be able to figure out which ones to make the investment in and I didn't want to have lots of money tied up in inventory just collecting dust in my studio.  The logical decision for me was to print my own.
Prints getting ready to be matted for sale


I think it would be helpful here at this stage in this blog for me just to give you a list of the supplies I use for making my prints and their Amazon links.  I hope you find this helpful.

Canon Pixma Pro 100 Printer 
Photoshop Elements or other photo editing program
Epson Premium Presentation Paper
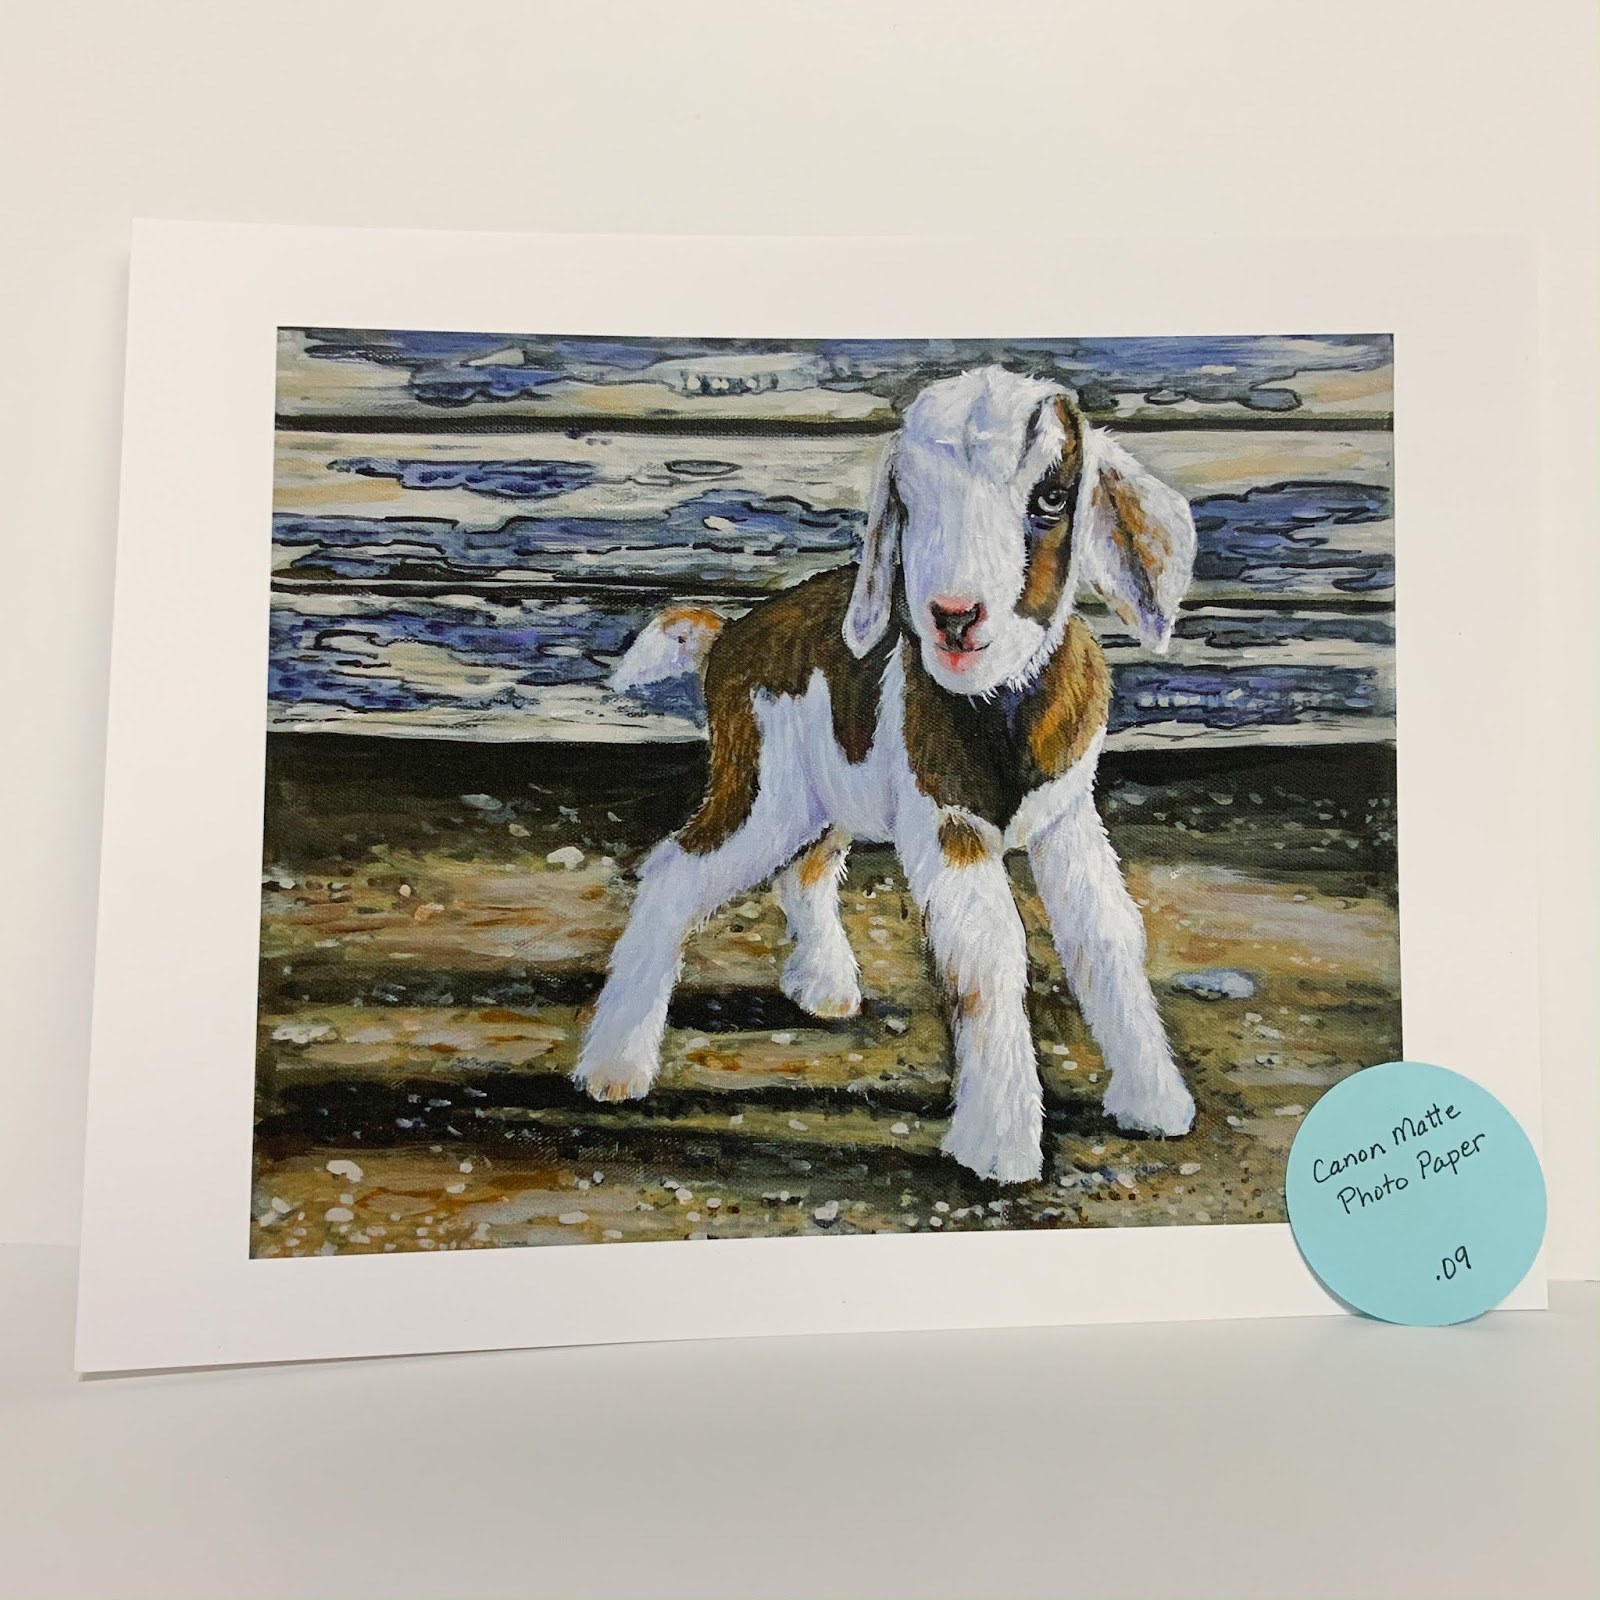
Matte set (backboard and cellophane bag included in 8 x 10 & 11 x 14)
Art Tape
Scotch Brand Adhesive Glider (acid free adhesive)
.009 mechanical pencil
Authentic Reproduction sticker
Rigid Mailers  for shipping your prints


When I have a new work of art. the first thing you have to do is get a good photograph of the piece.  This is the foundation for being able to continue making money from your work so this is the most important step.  I'm using my image of "Happy Cows" painted in 2017 and sold two years later in 2019.  I actually had this piece professionally photographed for about $65 I think and I'm glad I did.  The larger pieces seem to be more difficult for us to get a good photo of with our camera.  The smaller canvases are much easier.  I just scan all my drawing and color pencil art.

So now you have your photo. I create a folder just for this piece and I save all my print files in that folder.   I save the original image in a PNG format to folder first and name it in this case, Happy Cows-Original.  I save it in a PNG format because JPEGs are of the devil.   I'm kidding, but I do know that over time and after a number of copies a JPEG looses it's clarity as an image and you don't want that to happen to your file. I do save a JPEG image of the 5x7 size and add a watermark to it for social media sharing purposes.  I also am sure to keep the original image unedited if for some reason I need it down the road before I have made any edits.

I want to create a print file for these 4 sizes along with a note card template.  4 x 6, 5 x 7, 8 x 10 and 11x14.  I start with the largest size desired size which in my case is 11 x 14 and I create my new document size 1" smaller on both sides; for example the 11 x 14 print file is really sized 10 x 13 inches and so on.  This insures when printed that I have a nice even white border around the image.  I leave the bottom border slightly larger because this is where I am going to write the title and sign the print using my .009 mechanical pencil.  I love the very fine line that this pencil gives me.  It is also my go to drawing pencil so I always have it there in my studio.

For the 5 x 7 prints I can actually fit 2 on one paper so I create a a file that I title 5x7 (2).  This is what the file looks like that I print from.  I get 2 prints on one sheet of paper and then I have an extra one to file away to fulfill any future order that I will have.

The image size here is really 4 x 6 (remember it is one inch smaller on both sides).  I print 4 x 6 images usually on glossy photo paper, laminate them and put a magnet on the back.  I sell a lot of magnets and at $8 each they certainly add up.  Here is the Amazon link for both the magnet sheet and the lamination film.  I've started actually cutting the magnet in half because it make it easier to place the magnet on the laminated photos and it also cuts the cost in half. It was one of those light bulb moments where you smack your head and say "Gee I could have had a V-8".  I have for years been painstakingly trying to place that 4 x 6 magnet perfectly on the back and not have any of it showing on the front side.  What a challenge that was and sometimes failed miserably.  This way it is just so less stressful to use 1/2 a magnet centered on the back.  I'm giving away all my trade secrets today.  LOL!

My Note Card Template for "Happy Cows"
I sell a lot of note cards throughout the year and so I also make a note card template for each of my pieces of artwork.  Here is the template I use for "Happy Cows".  I use card stock that I purchase directly from the Red River Paper Company.  I love their 60lb Polar Matte paper.  It comes in 7 x 10 and is already scored for me.  The colors that come off the printer are amazing.  For my Canon Pixma Printer I had to create a custom paper size and I use the setting Photo Paper Pro Premium Matte as my paper type.

I have a template made for both vertical and horizontal orientations and so I just grab the correct template I want to use in Photoshop and add the image.  I have started adding the title of the piece and my name in a handwritten font (Homemade Apple) to give it more of a "Print" feel.

1.  You will need a good printer
2.  Get a good photo of your artwork
3.  Invest in a supply of paper and mattes 
4.  Learn to use a photo editing program like Photoshop Elements
5.  START MAKING EXTRA MONEY from your art by print your own cards and reproductions. 

Just remember to be patient with the process.  Everything has a learning curve but the end rewards are certainly worth the effort.

Want to check out my ETSY Shop?  I hope I have peaked your interest and now you want to see all the artwork available there.  I plan on blogging about my ETSY experience very soon because I am asked questions frequently by artists who are considering opening a shop themselves.

Was this blog helpful?  I would love to hear your feed back and comments.  Please consider following me on FACEBOOK or INSTAGRAM too.


Wednesday, January 15, 2020

A Journey of Self Discovery


"Showing Your True Colors"- 12 x 24 Oil
I started thinking about painting again 10 years ago after I finished taking a beginning drawing class at the local community college.  I LOVED art in school and I had a natural talent for it but life was hectic raising 6 kids and so for 30 years I did nothing to foster or grow creativity in me.  I occasionally told people I could paint and draw but I don't think they believed me because I had so allowed life to choke out every speck of creativity in me. 

It was in 2013, I painted this 12 x 24 inch painting of what is supposed to be my hand holding a giant paintbrush.  My first ever art show was titled "Showing Your True Colors" and this piece was the piece I painted especially for the show.  It hangs now above the door of my studio as a reminder of how my life completely changed directions 8 years ago when I made the decision to leave the 8-5 workforce.

"Creative Finance"- Watercolor and Pen and Ink
After giving almost 30 years my life to one organization, I found myself in a place I no longer felt called to be in.   Rather than being my ministry, it had become a place of  stress and disappointment.   I was no longer happy to walk into my office each morning.   I dreaded the routine of bank reconciliations, dealing with payroll and account receivable, closing out month ends, preparing financial reports and most of all, board meetings. It was TIME! So I packed up my 10 key and the daily grind of  being a business administrator and eagerly traded it all for the opportunity to take up my paintbrush.

Here is an early piece that I called "Creative Finance" and it encapsulates the transition that had started in my life.  I did several other pieces pieces that I jokingly referred to as my "Confessions of a Recovery Accountant Series."

It took a while and lots of practice over the next few years to improve my skills and come into my own style but I'm so happy that I did.  I love creating art that makes others smile.  I feel God has called me to this new creative life and I give Him all the glory that I am able to follow this dream.

At first, I thought I really wanted to focus on landscape painting, so I became a student of  a number of artists on YouTube and online.  I also took a few lessons locally from an artist I really admired.  Taking lessons from others is important part of the process because you have to learn many basic painting techniques.  The real challenge as a emerging artist is to take those techniques you learn from others and turn them into your own style. It's all part of the journey to finding your unique artist identity. 

Fence Post Curiosity- 24 x 36 inch acrylic
In those early years, I did a great deal of hoping around painting a wide variety of subject matters from old prospectors to floral pieces but nothing quite seemed like a perfect fit for me.

It wasn't until around 2015 that I started thinking about my Missouri childhood.  I have many fond memories of growing up in rural America.  I missed the green and the peace and quite that living way out in the country brought.  It wasn't until I painted this piece (Fence Post Curiosity) that I realized that painting simple country scenes, especially those with farm animals in them not only brought me joy but also resulted in lots of smiles on the faces of those that viewed them. 

My series called "Down Country Roads" not only began to define my current style of art but that also helped me find a niche that I could passionately paint in. I call it WHIMSICAL FARMHOUSE.

I have always loved farmhouse style decorating and so painting farm life with a splash of humor was just down my alley or in my case, DOWN MY COUNTRY ROAD.  I am so blessed to be able to start to see success in something that I am loving to do.  Thanks to all that have purchased artwork from me in the past or that follow me on social media.  I SO APPRECIATE YOU helping me do something that I LOVE!  2020 is going to be an AWESOME year!

Here is my latest mini shelf sitter calf that I finished yesterday.  It is only 8 x 8 but that is 64 square inches of pure cuteness.  Next, I'm painting an adorable mini goat on my easel for today.


Friday, January 10, 2020

It's All About the Paper

The original 11 x 14" acrylic- "The Face of Mace"
One of my studio goals for last year was to step up my game when it came to my note cards and art reproductions sales. Every artist should want to continue the unending revenue stream that selling reproductions of your original art can give you.  Long after the original piece is gone, the potential of selling reproductions in the form of prints and cards continues and can be a substantial source of income.

So once I have the photo or scan of the completed artwork done, I will then pull the image into Photoshop where I create a file folder unique to that artwork title. This folder is where I will store the different variations of the image.

For reproductions,  I create a new document file that is 1 inch less then what I want the actual reproduction size to be.  For example, my main reproduction size that I offer is 8 x 10 inches matted to 11 x 14 inches.  I keep all my supplies in my inventory for this size.  It is easy to frame and is easy for me to ship.  So in Photoshop Elements,  I will create a new document that is 7 x 9 inches.  This insures that I will have at least a nice 1" border around all the sides.  Sometimes, depending on the original size of the artwork I might have a bit larger of a border than the 1" on either the sides or the top and bottom.  The goal is to keep the art proportionally correct and not stretch or distort it.  You want it to be as centered and as large of an image as will fit in the document size.  It is also okay to leave a little bit larger of a border on the bottom because this is where you will be signing and numbering the reproduction if applicable and writing the title of the piece using a pencil.

The printer is important but I think the paper is equally important.  I purchased a Canon Pixma Pro 100 printer to use as my main studio printer.  The ChromoLife Dye based ink isn't as archival as the pigment inks but it states that if stored in the right conditions (acid free and not in direct sunlight) the print can last up to 100 years.  That is good enough for me at this point in my artist journey. The price also doesn't break the bank and at the same time gives me the flexibility to print larger sized papers.  I'm happy and it has paid for itself  MANY times over in the last 3 years.   

Example of my set of 4 printed goat cards
I started a journey last year to find my paper of preference.  For my notecards it is hands down the (1) 60lb Polar Matte 7 x 10" scored card stock that you can purchase from Red River Paper Company.  The printed image comes out beautiful and I couldn't be more pleased with how professional my note cards look now.

Since Red River Paper Company also sells fine art papers I made the decision to order their Fine Art Base Kit for $7.95 so that I could try out several different paper options without investing large amounts of money to buy larger quantity of each.  Let me show you what I found with this little experiment I conducted using the same image file on all of the print outs.  My original goat painting titled "The Face of Mace".

I realize that you're not getting the best image here of my reproductions and you can feel the paper but I decided to share the results anyway and maybe you would then decided to do your own experiment.

Aurora Art White 285 @ $0.75 a sheet
Of the Red River Papers, I liked the printed results of the (2) Aurora White Paper the best.  The per sheet cost of that paper was $ .75 each and so it wasn't too expensive and gave a nice crisp color and had a fine texture that made the print feel rich.


Epson Velvet Fine Art Paper- $1.19 per sheet


I also tried some of the papers I had on hand in my studio.  I had purchase an extra large (3) Epson Fine Art Velvet paper several years ago that is actually turns out to be the most expensive option.  I cut it down to the 8.5 x 11 size and included it in the line up.  The end result was okay but I felt the colors were better represented on the less expensive papers I tried.  This paper came in at $1.19 per sheet.


Epson Premium Presentation Paper- $ .08 per sheet
Next, I tried a much less expensive option in what is actually a matte photo paper.  One by Canon  that is $4.99 for a pack of 50 sheets and the second was an (4) Epson Premium Presentation Paper, which is priced $8.08 for 100 sheets.  Both papers turned out pretty comparable in quality and price I actually liked the Epson Presentation Paper the best.  The texture and weight of the paper wasn't as fine as the Red River paper but the color was very comparable.  After all these reproductions will wind up being framed and placed behind glass so to me the image and color are more important than the thickness of the paper.
(5) Canon Matte Photo Paper- $ .09 per sheet


Of course this is just today and as I grow as an artist I will most likely change my opinion on this and even outsource my printing to the professionals but that isn't in the plan for now.  I started a journey to improve the quality of both my note cards and reproductions and I think I have done just that.  Maybe you are in the same stage as I am and I have helped you with a hint or two on how to improve your own art business.  I hope so.

By the way, if you like this adorable little goat print or if you would like to purchase a pack of cute goat cards just checkout my Etsy Shop.  I have all sorts of little creatures there that are sure to make you smile.

BE SURE AND FOLLOW ME ON FACEBOOK @JulieTownsendStudio


Thursday, January 9, 2020

Step Into the Light


My Studio Lighting Set Up- Very Complex
The foundation to creating sellable reproductions of your art and having that continued income source is the high resolution photo of the artwork.  I can't stress enough that you need to get a good picture or scan of your artwork before you ever put it on display or apply the sealing varnish coat.  Once the original is sold, it is all over.


I just recently purchased an electrical outlet remote so that I can turn the studio lighting on and off as I walk in and out of the studio. I think we purchased that at Home Depot but here is a link for the same thing on Amazon. (Electrical outlet remote control)

There are a number of good YouTube videos about taking photos of your artwork and these folks know a great deal more about the functioning of their cameras than I do.  We use our Canon EOS T2i  camera on a tripod to take photos of my paintings.  We photograph them indoors using equally spaced studio lights (Shown above in the first picture and are under $60 on Amazon) to reduce the chance of glare and shadows.  I have the lights attached in the both corners up near the ceiling of the far wall in my studio.   These studio lights also come in very handy when I am taking pictures of products for my Etsy Shop and also provide a nice bright light for me to paint with.  They have really become a great studio tool.


When I am take pictures of my smaller merchandise, I use a large sheet of foam core art board that I purchased at Hobby Lobby. (don't forget they have a 40% off coupon that you can use for every trip) I scored it down the center so it fold up and stores nicely when I'm not using it.  I use the camera on my iPhone X for these smaller product photos and then I pull them into the Photoshop Express app on my phone to crop, adjust lighting to make the white of the background really bright and add a watermark.   For the canvas art, we place the canvas on the white display grid you see here that is attached to the opposite wall of the studio.  My husband takes several shots of the artwork using different shutter speeds.  I pick the photo that has the highest resolution usually to be my original photo.  I hope that gives you some ideas for your own creative space.  Check out my artwork on my website at JulieTownsendStudio.com


Monday, January 6, 2020

It's 2020 and I'm Still Trying to Wrap My Head Around That


I'm sitting here with my new 2020 calendar and my weekly organizer and it has really just sinking in that we have made it to a new decade. I understand that some would correct me and say that this is actually the last year of the decade and that 2021 is actually the start of the next decade.  Either way, I'm excited for this year and what God has in store for this year for me personally as an artist.   

Some things that jump to mind immediately is that this is a leap year.  It is also here in the United States both a census year and a presidential election year.  Some exciting things as a nation to look forward to.  My second hobby/passion is genealogy and so I'm always happy to include myself and my family in the census data.  Maybe 100 years from now there will be someone excited to find me.

A new year is always so full of promise and new beginnings.  I had knee surgery on Jan 2nd and so I'm looking forward to becoming a bit more active this year.  I'm still in recovery right now so it's hard to tell if my steps will be pain free.  I sure hope so as I want this to be a year that I try get stronger. 

This year I want to be more organized in my studio and use my time to be more focused and productive.  I think many artists struggle with staying focused and I find myself wasting too much of the time that I could be creating or promoting my art. 

"Life on the Funny Farm"- 36 x 36 Acrylic
Let me end this blog with showing you the last two paintings of 2019.  I started the "Life on the Funny Farm" piece around Thanksgiving and worked on it for several weeks.  As you can see it is painted on a large 36" x 36" canvas and those take a while to do.  Also having 3 animals included in the piece adds to the complexity of the composition.  This piece is intended to be the focal piece for a solo show I'm going to be doing in March at the Boulder City Art Gallery.  I am their scheduled featured artist for that month.  I'm calling the show by the same title and will be painting a number of  smaller farmhouse style pieces to go along with that theme.

"Hogs and Kisses"- 11" x 14" Acrylic


The final painting for 2019 was this adorable pair of piglets that I'm calling "Hogs and Kisses".  The canvas measures 11" x 14" so it is just a sweet little piece that makes me smile every time I walk into my studio and see it. 


 Don't forget that I still have a few 2020 wall calendars available for purchase on my Etsy Shop.  These calendars feature my original artwork on each page and are sure to make you smile throughout the whole year.  Smiling is important to your health and I'm just trying to do my part to make 2020 the best year ever!

Here is the LINK:  https://www.etsy.com/JulieTownsendStudio/listing/759269551/2020-calendar-funny-art-calendar-planner?utm_source=Copy&utm_medium=ListingManager&utm_campaign=Share&utm_term=so.lmsm&share_time=1578329349462