 |
| I designed a new studio logo banner this week. |
Recently, I have been running here and there in the attempt to sell more of my original art. Setting up my booth at different venues and every time I'm out there I get asked about where I got my grids or the lightweight tables I use to lay out my merchandise on. So I thought I would share this information with you and provide specific links to make it easy for you.
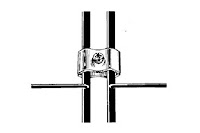
I purchased most of my grids through Amazon and I have provided the link to that. I decided to not to purchase the feet or stand to hold them up because I hate how they stick out and it is more work to set them up. What we have discovered is that we clip 3 grids together using the grid clips (link and picture provided) then we zip tie the units of 3 together. They then fold flat into each other and they are about the max weight that my husband wants to handle at a time. The caution here is that there is sometime shifting and your fingers can get pinched. We are working on some designs for some clip on handles to help with this problem.
Having them in 3 grid sections makes set up quick, easy and versatile, filling different space scenarios. They can bend to create a corner or overlap each other to accommodate smaller areas. Once you have created the booth structure the grids are pretty self supporting but we do have 1"x 2" boards that we have painted black that we can zip tie to the to bottom of the back and side walls to give even more support if needed. Here are the links for the booth items themselves. I have a total of 12 grids and may purchase 3 more down the road so that I have enough to completely surround my 10 x 10 tent with a front entry opening but for now, 12 are meeting my needs perfectly.
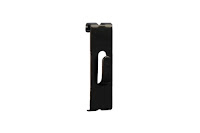
I use the grid hooks to hang my artwork from. If it is a very windy day, I even will zip tie my artwork to the grids to prevent them from blowing off.
ZIP TIES ARE YOUR ART SHOW FRIENDS (and the all important wire cutters are a tear down necessity).
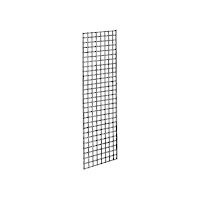
 Grid wall system
Grid clips
Grid system hooks
Another item that I get asked about all the time is my wonderful tables. I can't think about one negative thing about these tables. They are lightweight, convenient, easy to store and the adjustable heights make them oh so useful. I have 2 sets of these to make a total of 4 tables. I also used some black flat sheets and sewed my own fitted table covering for them so they actually look quite classy inside my booth. Also because they are narrow in width, they don't take up too much floor space inside the booth.
I also find them wonderful for outdoor drawing and painting. Set up in an L-shape make the perfect plein air studio surface. Here is the link to the tables.
Coleman camping table
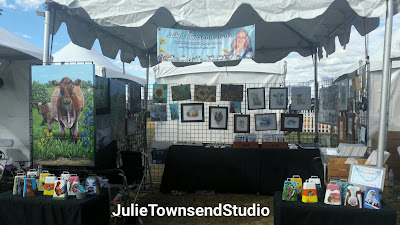 |
| Outdoor festival set up with a tent provided by the event- Skye Canyon Chalkfest |
Here is my booth set up last weekend at an outdoor festival measuring 10 x 10. The tent was provided by the festival so it was very sturdy. You can see my grids do not quite completely go around the full 10 x 10 space and so down the road I might consider buying 3 more because I really like to have that 2 foot section in the front to serve as a doorway and here I only was able to do that on one side. I try to position my larger, crowd drawing art piece in the front to pull people over to my booth. The cowbells were also a good draw.
Before my next art show, I'm going to purchase about 4 or 5 flat black sheets to use as backdrops. I think the art looks better when you can't see through the grids and there is a visual wall. It also provides movable shade and can be used to cover your merchandise at night. They will become just part of the accessories inside my art show box.
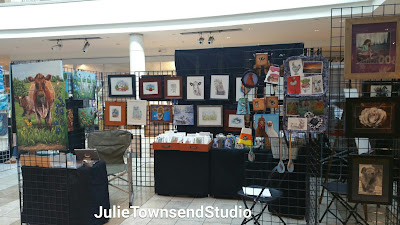 |
| Recent booth set up at the Galleria Mall |
Here is an indoor booth set up that measures 10 x 6. It is a much smaller space but holds almost the same amount of art as does the 10 x 10 space. I even have one small table set up with my colored pencils so that I do live drawing during my time there. It is quite comfortable and you can see how nicely my covered tables look inside my booth.


